HP-4396B onboarding and flipped display repair | |
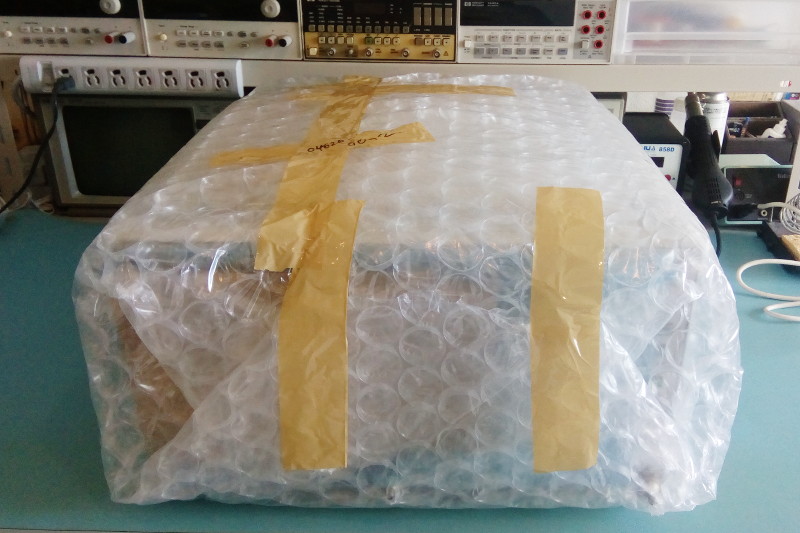 It Has Come... So far my gear has always been rather low frequency: my generators only go to 20MHz, scope goes to 500MHz and my MDA is limited to 2.5GHz, but I haven't been able to test it since I have no source that goes that high. I've been wanting to get my hands on a spectrum and/or network analyzer for some time but could not find a good deal... until last week! A Hewlett-Packard 'combo' spectrum, network and impedance analyzer (HP-4396B) popped up on Yahoo Auction (yes, Yahoo, this is the 'Ebay' we have here in Japan) and I was able to get my hands on it after a short bidding process. The reputable vendor also had a 4395A being auctioned at the same time, and that one went for twice what I paid for my 4396B because it had no apparent issue. So what was the problem of my HP-4396B? Well, let's first unpack it shall we? That big bubble wrapped blob has been waiting on my desk for 3 minutes already. Can't resist opening this baby any longer...! 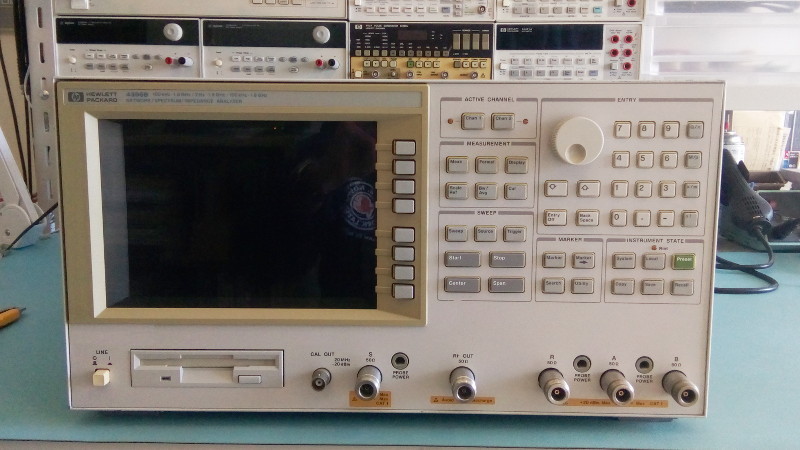 The HP-4396B on the bench The device is in great cosmetic shape: no big dings and scratches, all connectors are looking good and there's two N-SMA adapters thrown in for good measure. Anthoer good point that weighted in my desire to buy the device is that both Agilent 'calibration void' stickers were on the analyzer, meaning that 1) Agilent was the last to calibrate the device and 2) no one had taken bits of it out or played with it. Nice! 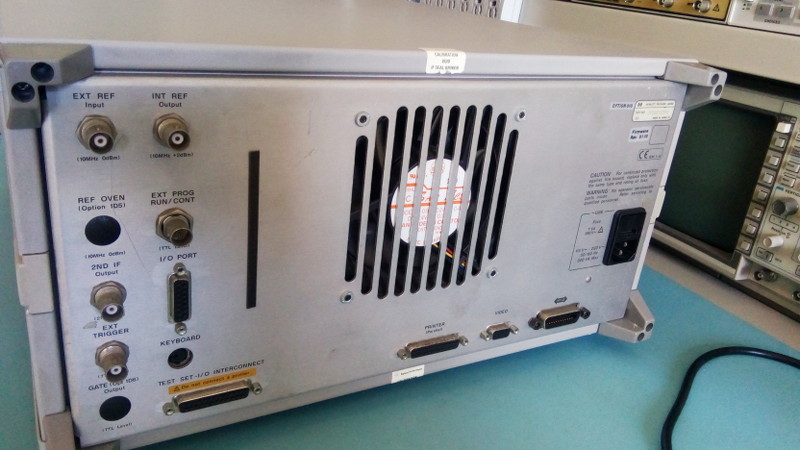 The HP4396B's rear panel with calibration stickers on Now it's time to power that baby up and... WTF? The auction description mentioned "upside down screen" but I didn't know what that meant because the images were all looking good. An intermittent problem maybe? In any case that's why I was able to get the device for under $500: the display is mirrored (or flipped) vertically! How on earth could that happen? (Spoiler alert: there's a surprisingly easy answer!) 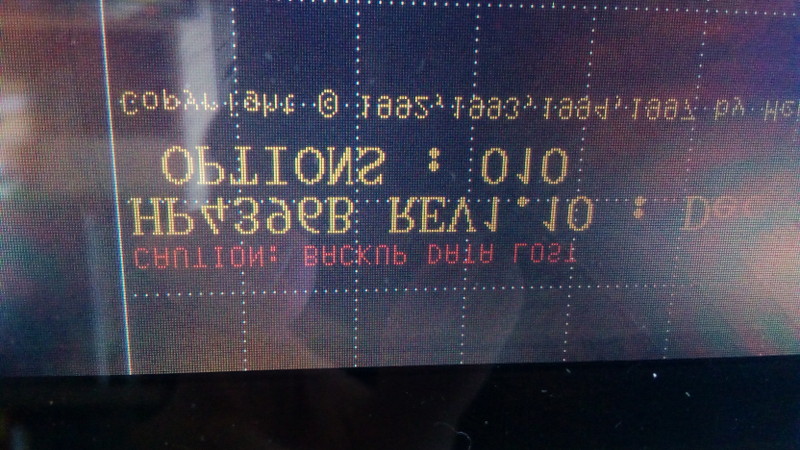 The vertically-mirrored display: now that's some weird issue! I was pretty sure before buying that I would be able to fix the (at the time non-visible) issue because the HP-4396B has a VGA output port for an external monitor. Thus if the display is really dead one can get good video from that port and route it to a new display inside the case. Also, the port makes it trivial to check if the video/CPU are doing the right thing. And indeed they all do: 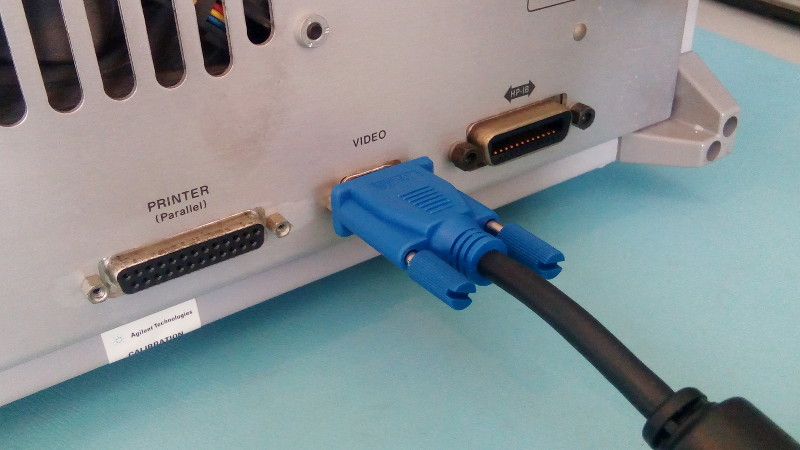 No one right in their mind would take a picture of a VGA output port. But then again this is really helpful here and I may not be that normal ;-) 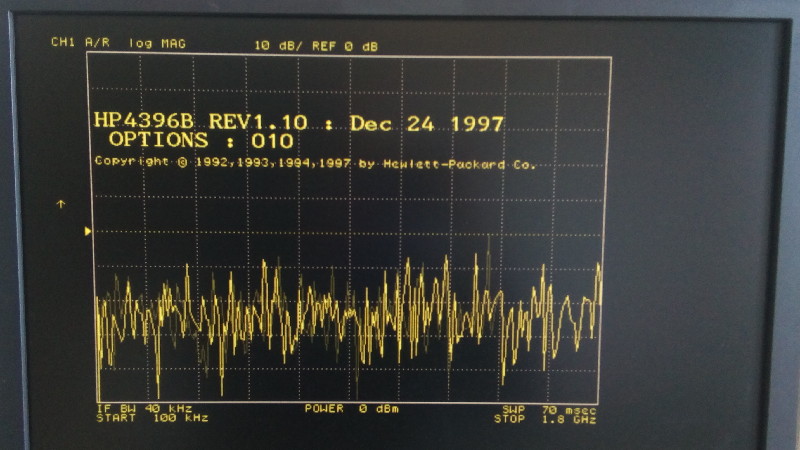 The 4396B VGA output is A-OK on a 24" monitor Not only is the VGA output just fine but it's also of a much much better quality than the ageing display in the 4396B. Come to think about it I will have to replace that display anyway even if I fix it! Well there's no way around it: we'll have to open that puppy. Of course I'd have done that anyway just for fun, because, y'a know, "Don't turn it on, take it apaaaart!" As anyone with a tiny bit of experience knows, getting rid of calibration stickers is a pain and this was no exception. But after a few tries I managed to remove the bastardinios in large chunks (top tip: exacto knife blade as parallel to the surface as possible!)   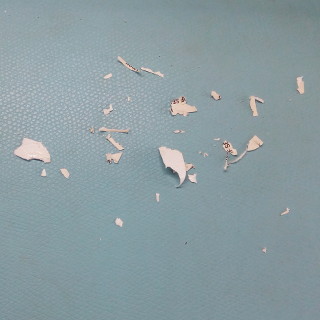 The calibration stickers and what was left of them after some sharp knife surgery. Upon removing the top lid we find a large shield, something common for precision RF equipment. Now we need to remove 19 screws (!) to really see inside: 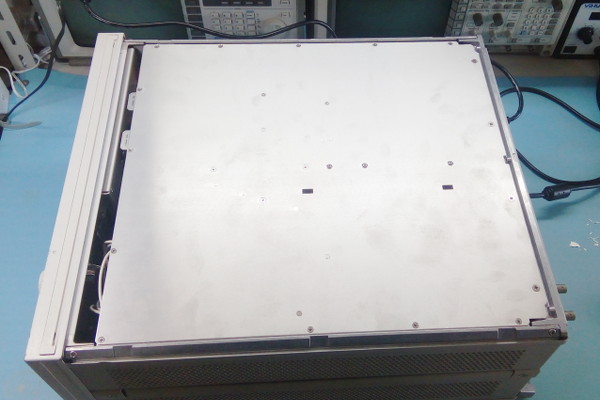 The HP-4396B's inner top shield and its 19 mounting screws. 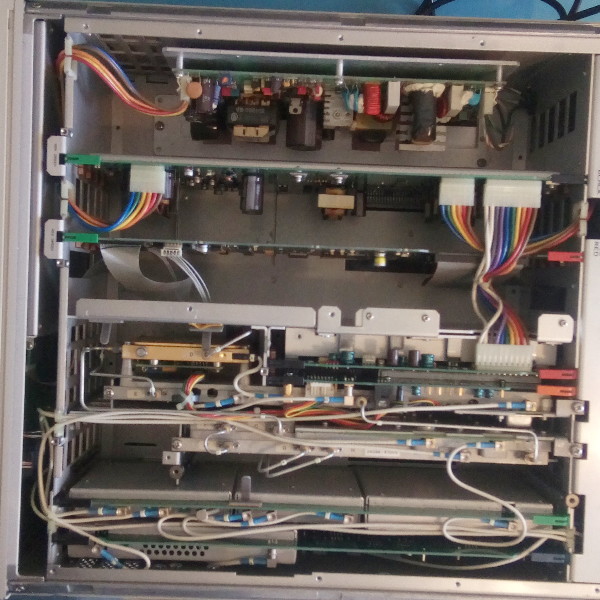 Finally, the HP4396B's innards. Let's make a couple of extra shots just in case I have to remember how things were before I mess with it ;-) Photos are an awesome way to quickly document a tear-down so you can remember how to put everything back together: 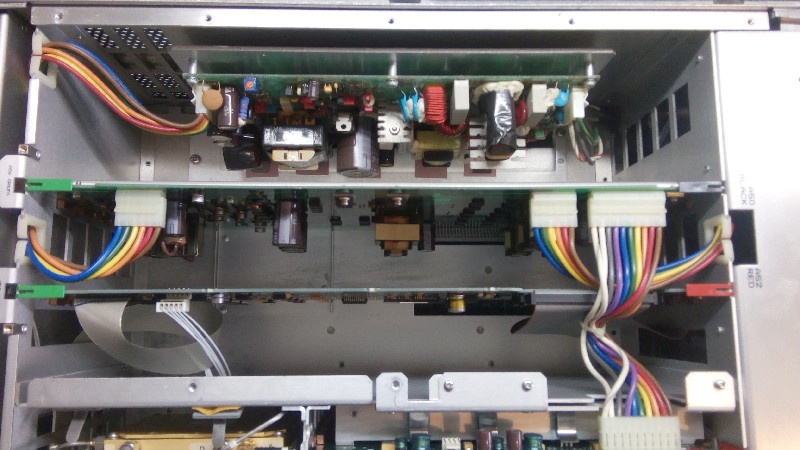 The HP4396B power supply and video boards section 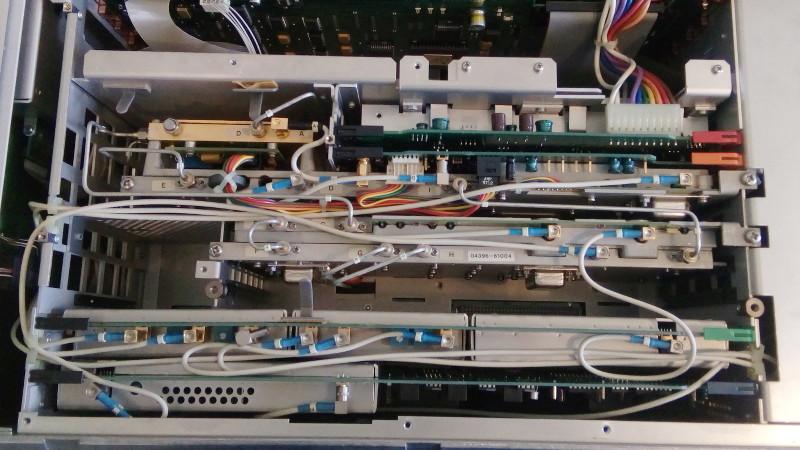 The HP4396B's RF section. The top right board with the red lever is still a PSU board, and we'll get to it later... 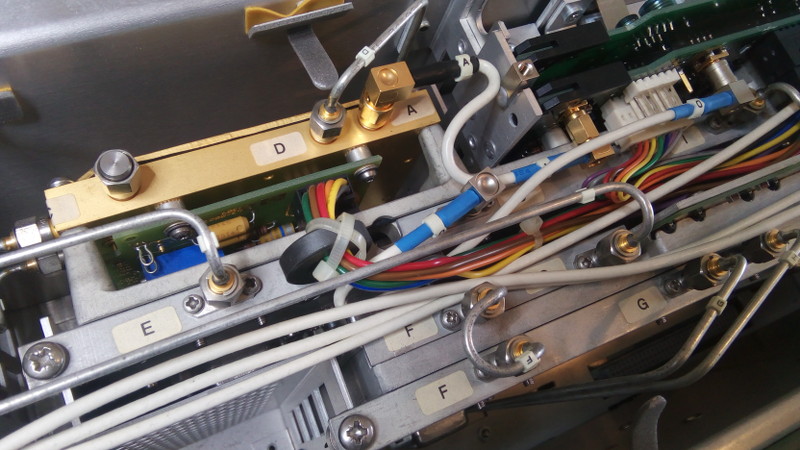 You know you reached the big boy's club when your gear has more plumbing than cables... But first things first: let's have a closer look at that dis... A-ha! Immediately we can see a potential problem: the flat-flex display cable has a kink in it near the display card connector! Could this be it? It also seems to be a little bit unseated... Suspense! Because if it's not the cable then it could get ugly...  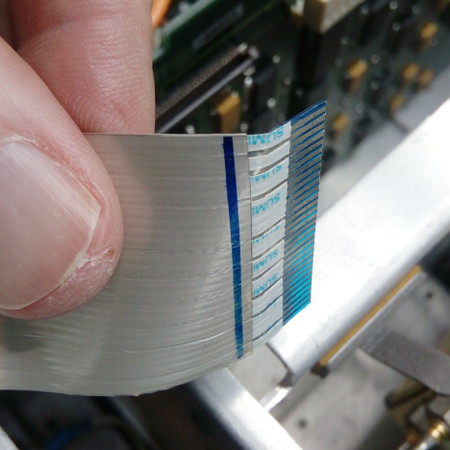 The kink in the display flat flex cable. After re-seating the cable it's time to plug the analyzer and boot it. I really hope it works or at least that the problem is the flat-flex as in the worst case it's easy to replace. Let's see... And... It's a bingo! 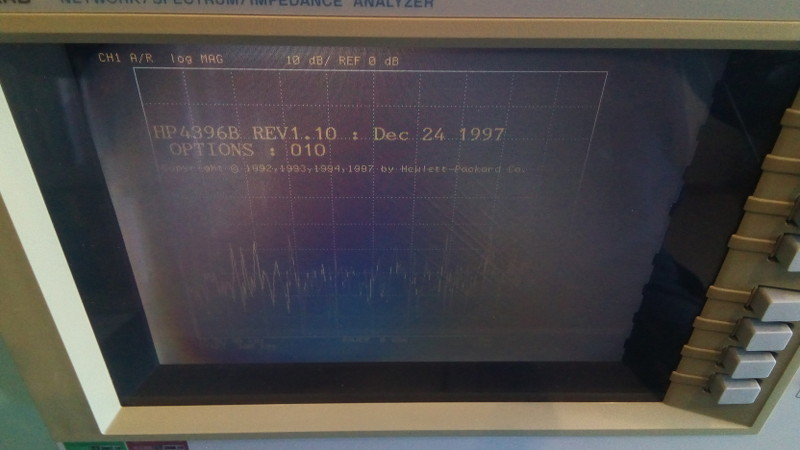 The HP4396B display is upright again! Even wiggling the cable does not bring the problem back, so it was really just an unseated cable. Ah if life could always be so easy... To avoid the flat-flex being further bent I placed the backlight's white cable inside the flat flex loop instead of outside like it was before. When placed outside the backlight cable presses against the flat-flex, bending it. But when placed 'inside' the flat flex 'loop' it shapes it and supports it. Hopefully this won't get worse with time but that looks OK to me. 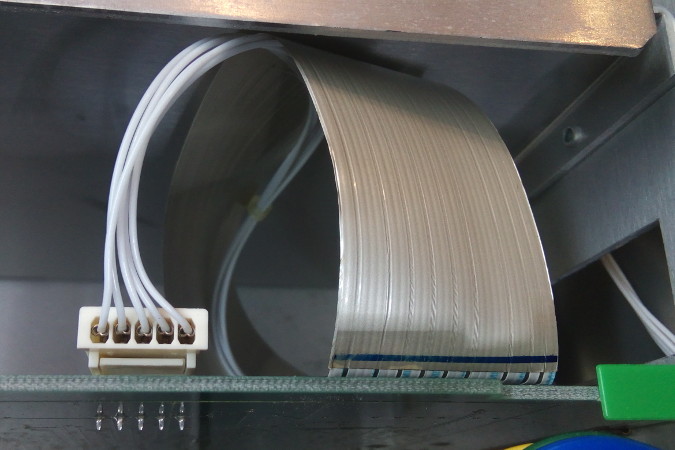 The backlight cable placement inside the flat-flex loop so that it serves as support. Maybe the source of the problem was a poorly seated cable from when Agilent last opened the device. Normally I would not suspect that to be the problem (HP/Agilent/Keysight guys are really good) but the flat flex connector is really tricky to use. One has to slide the plastic retainer and then tilt it to release the cable. This is standard but when putting the cable back the sliding action was a bit laborious: not a very positive feel to it and I had alternate pushing the left and right edges a few times to have the slide firmly and fully set. I haven't seen this exact type of connector before, probably a good thing... Here's a zoom on the offending (IMHO) little bugger: 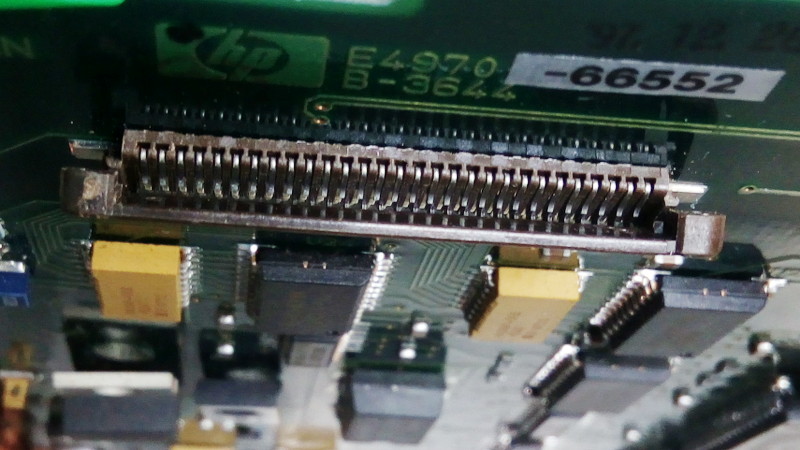 A problematic flat-flex connector But I actually think the problem may be elsewhere. The vertical mirroring (or flip, inversion, etc...) does not seem possible because the kinked line is actually for the horizontal flip, not the vertical one. Indeed the LCD connector does contain two lines that set the display orientation (pins 30 and 31), and one of them is present on the HP cable. The display is a Sharp LQ9D340 for which I found the datasheet after many hours of digging on the interwebs. You're welcome. And here's the relevant part: The Sharp LQ9D340 LCD display flip truth table. This image is actually from the newer LQ084V1DG41 datasheet where it's better explained. The backlight's input cable (always on the lower-right corner of the LCD module in the picture above) is actually in the top left in the HP-4396B, so the lower-right case applies and both pins must be set low. The vertical flip would happen if the U/D pin is high instead of low, which could happen if pin 31 has a bad contact, maybe. Pin 31 is set to ground on the small PCB that joins the flat flex to the LCD module itself, so that's where the contact error likely happened. Before we start to test the analyzer I'd like to have a look at the bottom part, which according to pics I've seen on the interwebs should have some more RF plumbing as well as the digital board. Top tip: after you have removed the bottom cover do place the back panel plastic feet back on: it will make manipulation of the 4396B a lot easier. Especially when we'll work on the front panel later on. While we're at it we'll also remove the side panels: 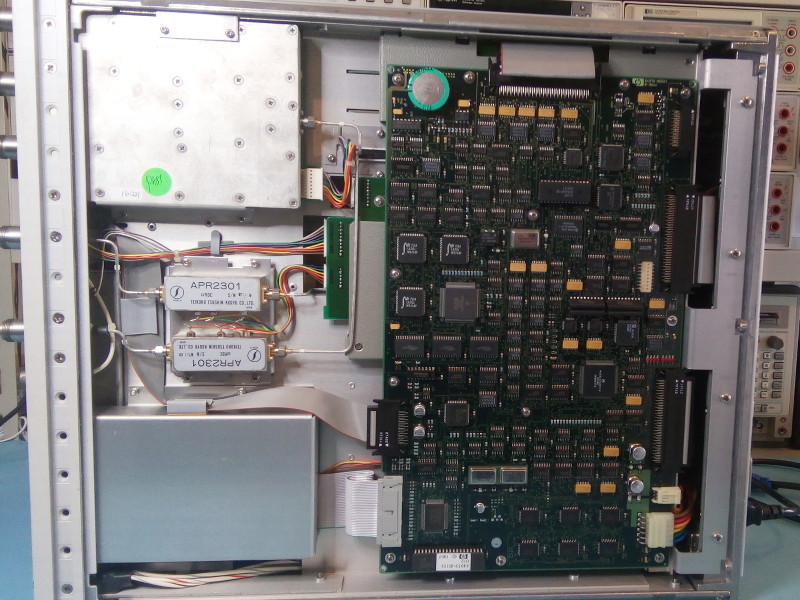 The lower section with the digital/CPU board (right), the floppy drive (lower left) and the front end (upper left) 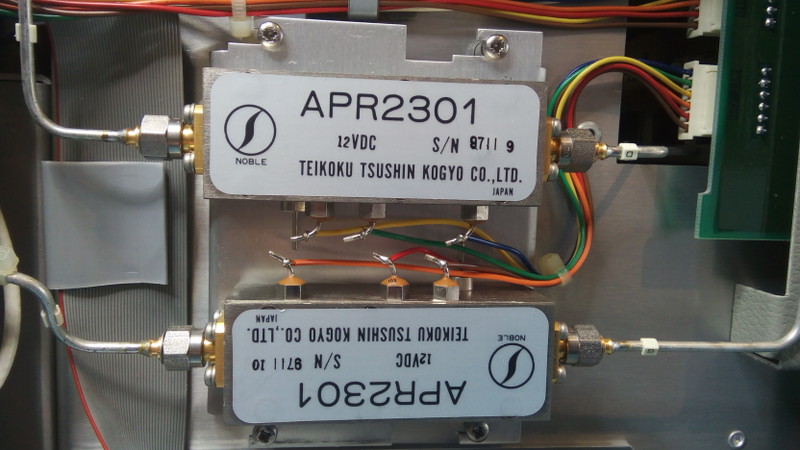 More plumbing more better! You can find that sub-assembly for sale on ebay for more $ than I paid for the entire analyzer... 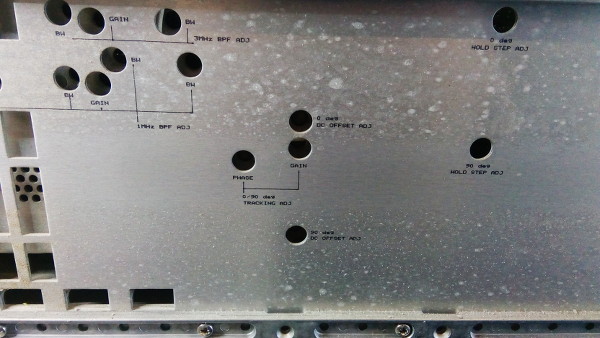 Adjustments map printed on inner side panel: that's how pro gear should look like! The extra plumbing bits are attenuators rated at 500mW, DC-2GHz. They have 8 stages in two groups: one 10dB and three 20dB for up to 70dB of attenuation and also 1, 2, 4 and 8dB stages for a total attenuation of 15dB. Altogether up to 85dB of attenuation should be possible (datasheet). The main board doesn't have anything really special except for a big-ass ultracap of 1 Farad, a welcome change from the annoying and leaking lithium batteries of yore. The next step is to test the beast: power supply rails, self tests, external tests, etc... | |
| © 2024 Damien Douxchamps. All rights reserved. | |

