Keyboard and encoder checks | |
|
I've had to disassemble my Hewlett-Packard 4396B front panel quite a number of times to retrobright the keyboard 'frame' which had yellowed with many years of exposure in the sun (not in my lab mind you, I tend to take care of my children!). Nothing big and fancy, but I'll share some pictures just in case it can help someone out. And of course that someone could just as well be me in a few weeks, months or years... So here are two images of the front panel PCB: 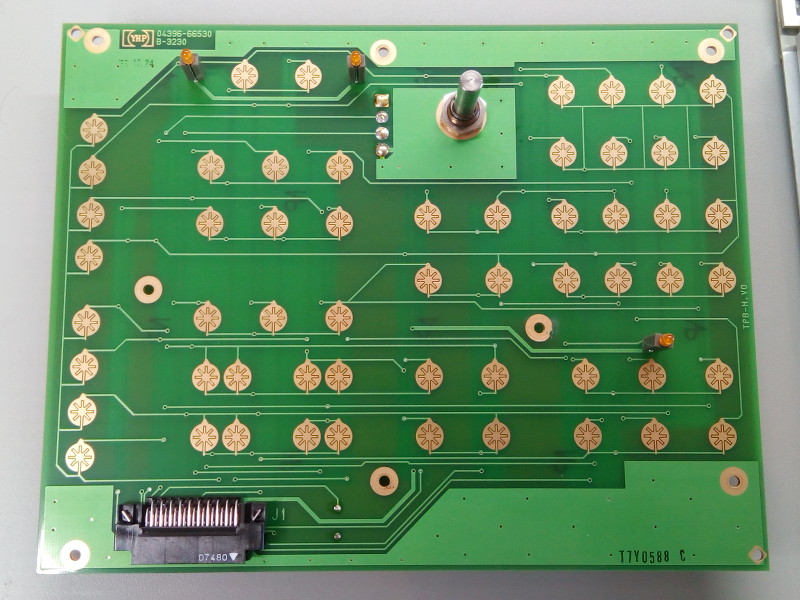 The keyboard in all its gold glory 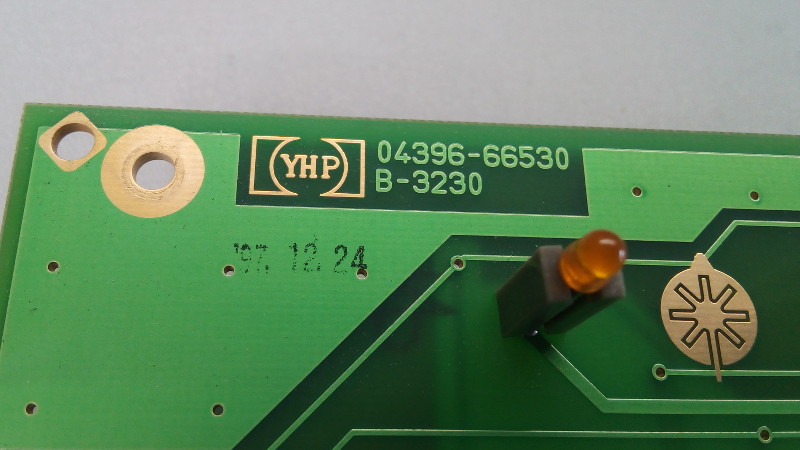 Gotta love that YHP logo! From the PCB we can see that the HP-4396B is actually a YHP device, YHP being Yokogawa-Hewlett-Packard, a joint-venture created by the two companies that saw YHP create many (if not all) of the impedance-related meters of HP: LCR meters, 4395A, 4396B, etc... One thing that bothered me when I got this unit is how far the optical encoder's knob protrudes from the front panel. It was borderline comical/dangerous: you don't want something to get caught in it and destroy your pride and joy. To improve the situation I have added a counter-nut on the other side of the PCB, removing 2-3mm of protrusion. As luck would have it the required nut is the same as the one found on most 6.35mm (1/4") shafted potentiometers so it was just a matter of gently asking one of those in my stockpile to part with his nut. Pics: 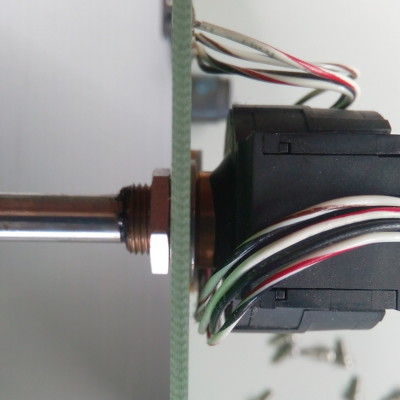 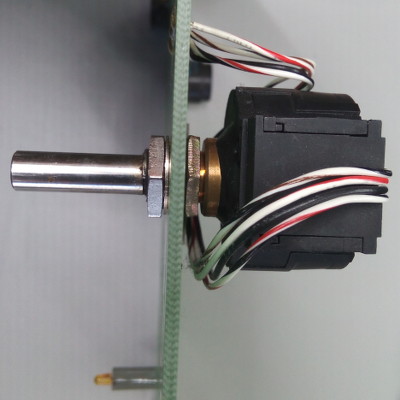 Before and after the addition of a nut on the other side of the PCB. This would usually be done by simply reducing the length of the shaft but this nice encoder is an original HP part that I don't really want to butcher. Plus the shaft is made of metal (noice!) so it's a bit more complicated to trim than regular plastic shafts. Finally here's a top-tip when you disassemble a front panel that uses a rubber membrane keyboard. If you pull the membrane from the panel there is a risk that the delicate membrane joints will be torn which would instantly kill the keyboard. To avoid this always pull the front panel up and away from the membrane, the latter preferably resting nicely on its PCB or another flat and clean surface. Since the 4396B has a separate key frame we can simply make the PCB rest on a table and pull the key's frame away (and conversely when putting it back together). This is most important when the rubber keys are tall like in this unit as will be hard to pull out of their long guide holes gracefully without damage. In other words: keep the key side up!  Front panel PCB, rubber key membrane and key frame 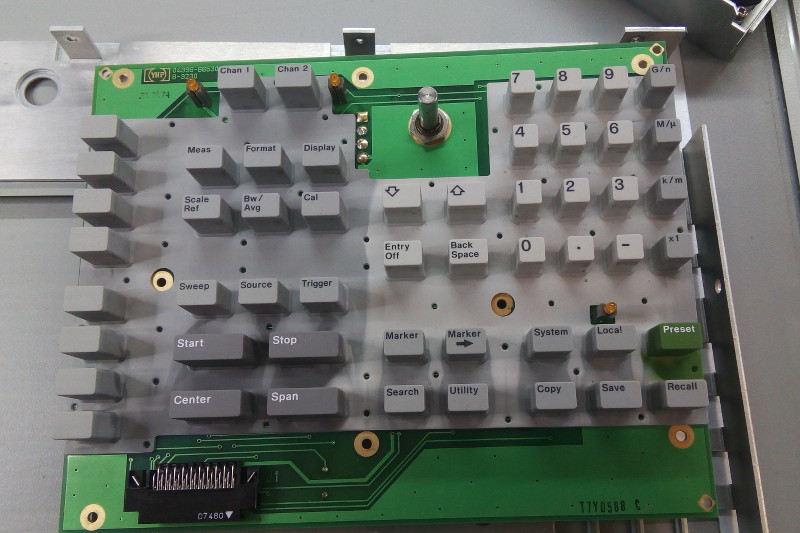 After removal of the key frame. Doing it this way if soooo much easier and safer. You're welcome. And don't forget while you're at it to clean the contacts with good-ol Deoxit Gold (tm). | |
| © 2024 Damien Douxchamps. All rights reserved. | |

